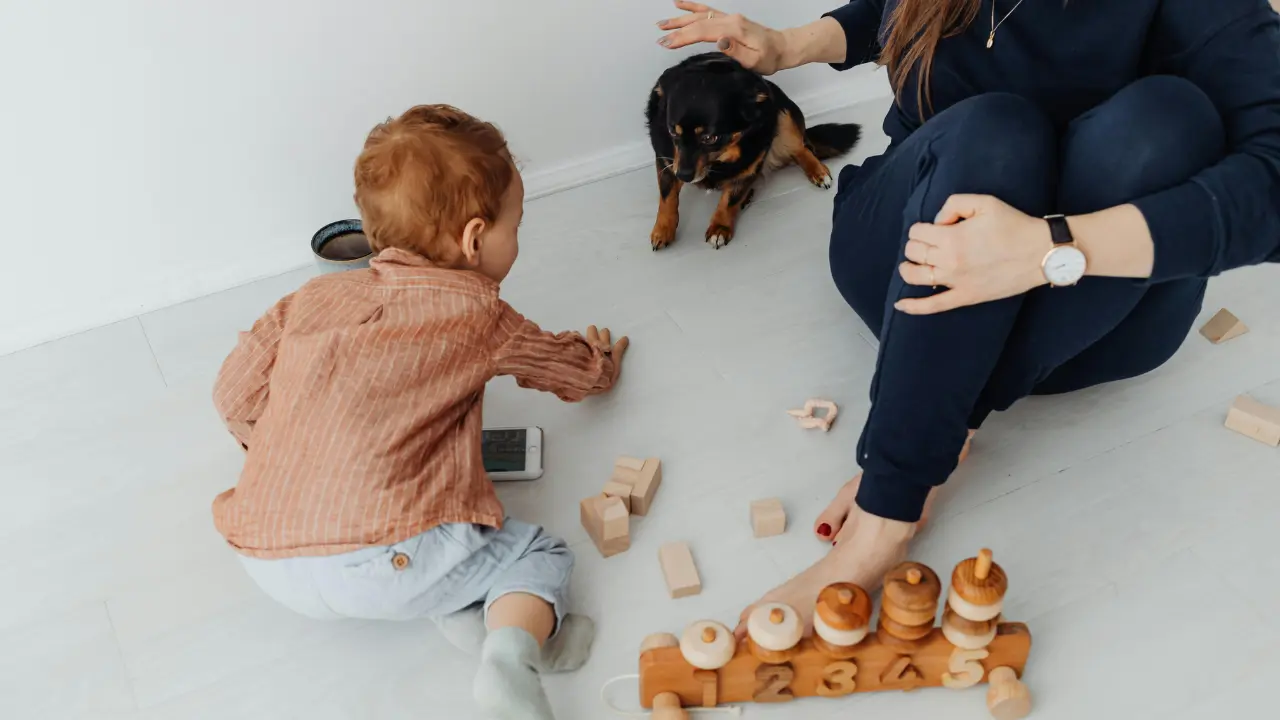
Introduction
Making your own pet toys and accessories can be incredibly rewarding and cost-effective. Not only does it allow you to create customized items tailored to your pet’s needs, but it also provides a creative outlet and can be a fun bonding experience. DIY projects often use simple materials that you may already have at home, and they allow you to avoid the chemicals and plastics often found in store-bought items. Let’s dive into some easy and enjoyable DIY projects for your furry friends!
Essential Supplies for DIY Pet Projects
Basic Tools and Materials
To get started, you’ll need some basic supplies. For most projects, you’ll need scissors, fabric, rope, sewing kits, glue guns, and non-toxic paints or markers. Stocking up on these items ensures you’ll be prepared for a variety of DIY projects.
Safety Considerations
Always consider your pet’s safety. Avoid using materials that could be toxic or harmful if chewed or swallowed. Ensure that all items are durable enough to withstand playtime, and check regularly for signs of wear and tear.
DIY Toys for Dogs
Tug Toys
Materials Needed
- Old t-shirts or towels
- Scissors
- Strong thread or rope
Step-by-Step Instructions
- Cut the fabric into strips.
- Braid the strips tightly.
- Knot the ends securely.
- Test the toy to ensure it’s sturdy.
Tug toys are perfect for interactive play and help strengthen the bond between you and your dog. These toys are also excellent for dental health as they help clean your dog’s teeth while playing.
Fetch Toys
Materials Needed
- Tennis balls
- Old socks or fabric
- Glue
Step-by-Step Instructions
- Insert the tennis ball into the sock.
- Tie the sock securely.
- For added durability, glue the ends of the sock.
Fetch toys provide great exercise and mental stimulation for dogs. Make sure the toy is the right size for your dog to prevent choking hazards.
Puzzle Toys
Materials Needed
- PVC pipes
- Plastic bottles
- Treats
Step-by-Step Instructions
- Cut the PVC pipes into segments.
- Attach the segments together to form a puzzle shape.
- Insert treats into the plastic bottles.
- Place the bottles inside the PVC puzzle.
Puzzle toys challenge your dog’s brain and keep them engaged. Adjust the difficulty based on your dog’s skill level.
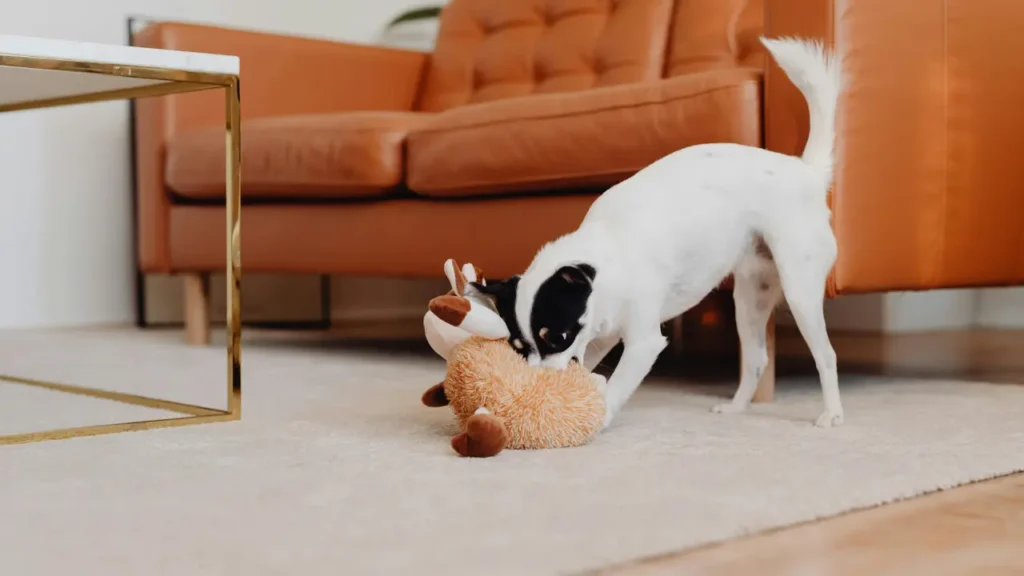
DIY Toys for Cats
Interactive Toys
Materials Needed
- Cardboard
- String or yarn
- Feathers or bells
Step-by-Step Instructions
- Cut the cardboard into shapes and stack them.
- Attach the string with feathers or bells to a stick.
- Dangle the string from the cardboard tower.
Interactive toys stimulate a cat’s natural hunting instincts and provide exercise. Always supervise your cat during playtime to avoid any risk of strangulation or ingestion of small parts.
Catnip Toys
Materials Needed
- Fabric scraps
- Catnip
- Needle and thread
Step-by-Step Instructions
- Cut the fabric into small squares.
- Sew the squares into a pouch.
- Fill the pouch with catnip.
- Sew the pouch closed.
Catnip toys provide mental stimulation and can keep your cat entertained for hours. Ensure the fabric is durable enough to withstand your cat’s claws.
Feather Toys
Materials Needed
- Feathers
- String or yarn
- A stick or dowel
Step-by-Step Instructions
- Attach feathers to one end of the string.
- Tie the string to the stick.
- Wave the feathered string to engage your cat.
Feather toys are excellent for encouraging exercise and play. Always check that the feathers are securely attached to prevent them from being swallowed.
DIY Accessories for Dogs
Collars and Leashes
Materials Needed
- Webbing or fabric
- Buckles and D-rings
- Sewing kit
Step-by-Step Instructions
- Measure and cut the webbing to the desired length.
- Sew or attach the buckles and D-rings.
- Adjust for a perfect fit.
Custom collars and leashes allow you to choose the style and material that best suits your dog. Make sure they are comfortable and secure.
Dog Beds
Materials Needed
- Foam or old pillows
- Fabric
- Needle and thread
Step-by-Step Instructions
- Cut the foam to the size of the bed.
- Sew a fabric cover for the foam.
- Insert the foam into the cover.
A homemade dog bed can be customized to fit your dog’s size and preferences. Opt for washable fabrics to keep the bed clean.
Bandanas and Clothing
Materials Needed
- Fabric
- Measuring tape
- Sewing kit
Step-by-Step Instructions
- Measure your dog’s neck and body size.
- Cut and sew the fabric into a bandana or clothing item.
- Adjust for a comfortable fit.
Custom bandanas and clothing allow you to express your dog’s personality. Ensure that clothing is comfortable and doesn’t restrict movement.
DIY Accessories for Cats
Cat Trees and Scratching Posts
Materials Needed
- Carpet or fabric
- Wood or PVC pipes
- Sisal rope
Step-by-Step Instructions
- Assemble the wood or pipes to form the base and posts.
- Wrap the posts with sisal rope.
- Cover surfaces with carpet or fabric.
Cat trees and scratching posts help keep your cat’s claws healthy and provide climbing opportunities. Make sure the structure is stable and secure.
Cat Beds and Mats
Materials Needed
- Soft fabric
- Filling material (e.g., old blankets or foam)
- Needle and thread
Step-by-Step Instructions
- Cut the fabric into the desired shape.
- Sew the fabric into a pillow or mat shape.
- Add filling and sew closed.
Soft and cozy beds provide a comfortable resting place for your cat. Choose hypoallergenic materials to ensure safety and comfort.
Grooming Tools
Materials Needed
- Brushes or combs
- Handles or grips
- Adhesive
Step-by-Step Instructions
- Attach handles to brushes or combs using adhesive.
- Ensure the handles are secure and comfortable to use.
DIY grooming tools can be customized to your pet’s grooming needs. Ensure the tools are gentle and safe for your pet’s skin.
Safety Tips for DIY Pet Toys and Accessories
Avoiding Toxic Materials
Always use pet-safe materials and avoid chemicals or substances that could be harmful. Non-toxic paints and glues are crucial for safety.
Ensuring Durability
Check that all toys and accessories are durable and well-made. Regularly inspect for wear and tear and replace any damaged items.
Regular Inspection and Maintenance
Monitor your pet’s toys and accessories regularly. Replace or repair any items that show signs of damage to ensure continued safety.
Customizing DIY Projects
Adding Personal Touches
Personalize your pet’s toys and accessories with colors, patterns, or embellishments. Tailoring projects to your pet’s preferences can make them even more special.
Tailoring to Pet Preferences
Consider your pet’s specific needs and preferences when creating DIY items. Adjust sizes and materials to best suit your pet’s comfort and enjoyment.
Conclusion
DIY pet toys and accessories offer a fantastic way to provide your furry friends with personalized, safe, and enjoyable items. From tug toys to cat trees, the possibilities are endless. By using safe materials and regularly inspecting your creations, you can ensure that your pet enjoys their new toys and accessories. So, roll up your sleeves, gather your supplies, and get crafting for your beloved pets!
FAQs
What materials are best for DIY pet toys?
Opt for non-toxic fabrics, durable ropes, and safe adhesives. Avoid small parts that could be swallowed.
How can I ensure my DIY pet toy is safe?
Use pet-safe materials, check for potential hazards, and regularly inspect the toys for signs of wear.
Can I use recycled materials for pet toys?
Yes, but ensure that the materials are clean and safe for pets. Avoid items with harmful chemicals or small parts.
How often should I inspect DIY pet toys?
Regularly inspect toys, at least once a week, and replace or repair any damaged items immediately.
Are there any pets that should not use DIY toys?
Pets with specific health issues or conditions may need specialized toys. Consult your vet for recommendations.